Pacing a Session Plan: Practical Steps for Building Rhythm Before You Sit Down
Written with AI. An AI model drafted this article. How we use AI
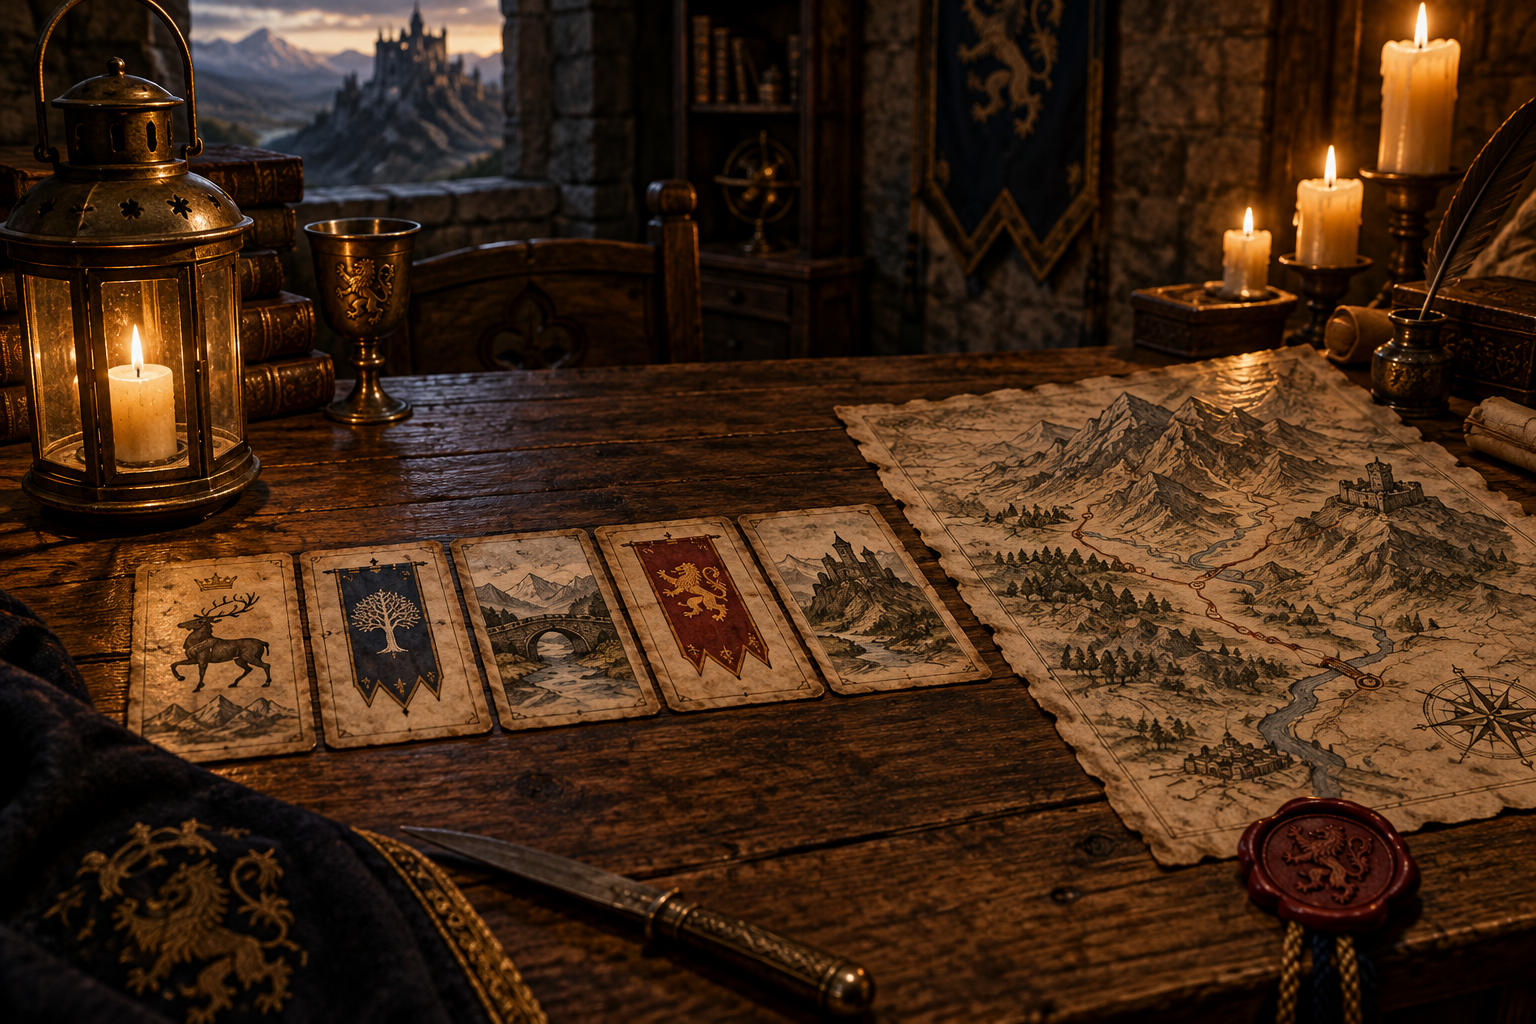
Good rhythm can be built into prep. This practical guide walks through sequencing scenes, setting durations, and planning release, so a session has shape before it begins.
Many game masters can sense when a session is working, but turning that sense into prep is a separate skill. This guide is practical: a sequence of steps you can follow at your desk, a week or an evening before play, to give a session a shape that supports your scenes instead of working against them.
It assumes you already know what pacing is. In this guide, pacing means the rhythm of tension, release, and rest across a session. If you want the concept first, our earlier piece on encounter pacing covers it. Here the focus is the doing.
One caution before starting. A plan is a hypothesis about how the table will feel, not a promise. The goal of the steps below is to give you a sensible default shape and the tools to adjust it mid-session. Nothing here guarantees a particular result, and a good deal of this is table preference. Where that matters, it is flagged.
Step 1: Decide What the Session Is For
Pacing starts with purpose. A session built to deliver a dramatic confrontation needs a different shape from one meant to introduce a new region. Before sequencing anything, write one sentence that names the session's centre of gravity.
Some examples of centres of gravity:
- A reveal the table has been working toward.
- A difficult choice with real consequences.
- A climactic fight.
- An exploration of an unfamiliar place.
- A breather after a punishing stretch of play.
This matters because one useful way to think about pacing is as a matter of placement. Once you know the peak, you can build toward it and protect it. Justin Alexander argues that RPG pacing comes down to identifying and eliminating, conflating, or manipulating 'empty time', the gap between one meaningful choice and the next (Alexander, 2013). Either way, deciding what to cut and what to arrange only makes sense when you know what you are arranging toward.
If you cannot name a centre of gravity, that is useful information. It may mean the session is a connective one, and the pacing goal is simply to keep it from feeling like filler.
Step 2: List Your Scenes as Beats, Not Plots
Write down the scenes you expect or want available. Keep each to a line. The word "scene" here is loose: a fight, a conversation, a stretch of travel, a puzzle, a moment of rest.
Two things are worth doing at this stage.
First, resist scripting an order you will then feel obliged to enforce. Alexander (2009) argues against prepping plots, meaning a predetermined sequence of events, because that tries to decide events that have not yet happened. He advises prepping situations instead, whose outcomes depend on what the PCs do. You can still prepare scenes as available beats and decide on a sensible default order, while accepting that the table may reorder them.
Second, label each scene by its dominant intensity. A simple three-way label is enough:
- High: danger, urgency, or emotional weight.
- Medium: engaged and purposeful but not straining.
- Low: reflective, social, or restful.
These labels are your own shorthand and are a matter of judgement. A negotiation might be medium at one table and high at another depending on the stakes. The point is to see the distribution of your session at a glance.
Step 3: Check the Contour
Now look at your labelled list as a line. Does it climb and fall, or is it flat? A run of several high scenes in a row, or several low ones, can make a session feel tiring or slack.
A few diagnostic questions:
- Are there two or more high-intensity scenes back to back with nothing between them?
- Does the highest-intensity scene arrive after a long unbroken stretch of medium or high scenes, so it has to compete with fatigue?
- Is there any low-intensity scene at all, anywhere?
- Does the session open with its biggest moment, leaving nowhere to go?
Shea (2022a) treats pacing as something a game master can improve through deliberate technique, and a contour check is a lightweight version of that thinking. You are not aiming for a perfect shape. You are looking for obvious flat stretches and fixing them cheaply.
The Angry GM (2016a) separates pace, the speed a scene should have given its purpose and content, from flow, keeping the game moving. The article sums up good pacing as varying the pace and ending fast. That is a helpful reminder that contour is not the same as speed. A session can move briskly and still be monotone.
Step 4: Assign Rough Durations
Intensity is only half the picture, and duration is the other half. Duration is easy to overlook, and it can quietly undermine a plan.
For each scene, write a rough target length in minutes. These are guesses, and that is fine. Their value is comparative: they show you where your session's time will actually go.
A scene prepared in great detail can end up taking a lot of table time simply because there is so much in it, while a scene that matters more dramatically may get only a few minutes. Writing durations makes the mismatch visible before play.
Consider these adjustments:
- Shorten what does not need to be long. A road-blocking obstacle that exists to establish atmosphere can often be a quick, vivid scene rather than a long sequence of checks.
- Lengthen what the session is for. Your centre-of-gravity scene should have room to breathe.
- Cap scenes with natural endpoints. Decide in advance what ends a scene, a result, a decision, or a time limit, so it does not drift.
Alexander (2023a) covers basic scene structure for newer game masters, including cutting or transitioning when a scene is finished. He says the biggest improvement a beginning GM can make is removing drag and dead air. Deciding endpoints in advance is a cheap way to apply that.
Step 5: Build In Release Deliberately
Release can feel easy to skip because nothing exciting happens in it, and that makes it tempting to cut when time runs short.
Release can take many forms, and none of them needs to be long:
- A quiet scene. A camp, a meal, a conversation by a fire.
- A change of mode. Moving from combat to exploration or from negotiation to travel.
- A moment of consequence. Letting players absorb the result of something before the next thing begins.
- A short, light beat. A humorous exchange or a piece of colourful description.
Why bother? Release gives players space to process, to talk in character, to voice worries, and to reorient. It also creates contrast: many GMs find that a high-intensity scene lands harder after a lull than after another high-intensity scene. Whether any given table wants a lot or a little release is a matter of preference. Tables differ: some may relish long quiet scenes while others may find them tedious. Session zero conversations about what a table enjoys can inform this (Shea, 2021b).
One rule of thumb worth trying is to place at least one deliberate release before the session's peak. Treat that as a starting default rather than a law.
Step 6: Place the Peak
With contour, durations, and release sketched, decide where the session's high point goes. A common choice is to put the high point in the later part of the session, after enough build-up to give it weight but with enough time left to resolve it.
Some considerations:
- Leave resolution time. A climax that ends with five minutes left gives no room for consequence or reflection.
- Protect the build. Check that the scenes before the peak are not exhausting the table before it arrives.
- Consider a false peak. Some sessions are better with a mid-session high point and a quieter, more reflective close. This is a legitimate choice, not a failure.
There is no single correct placement. The aim is for the placement to be a decision rather than an accident.
Step 7: Prepare Flexible Joints
A plan survives contact with players by having joints, places where it can bend. Without them, the shape you built collapses the moment the table takes an unexpected turn.
Useful joints to prepare:
- A compressible scene. Pick one scene you can shrink to a paragraph of description if time is short.
- An expandable scene. Pick one you can lengthen if the table is engaged and the clock allows.
- A spare release. Have a quiet beat ready to insert if tension has run too high for too long.
- A spare spike. Have a short, sharp moment ready if the session has gone slack.
Shea's approach to prep focuses on preparing what most benefits the game and preparing less overall (Shea, 2018), and a small kit of insertable scenes fits that approach. Alexander's node-based design points the same way: he argues that the plotted approach, where A happens, then B, then C, lacks flexibility and only works if the PCs follow the arrows (Alexander, 2010a).
Step 8: Mark Your Checkpoints
Pacing is easier to adjust if you check on it. Pick two or three moments in the evening when you will glance at the clock and your notes and ask a few quick questions.
A simple checkpoint routine:
- What time is it, and what scene are we in? Compare against your rough durations.
- How does the table seem? Energised, tired, restless, absorbed.
- What was the last release, and how long ago?
- Is the peak still on track?
These checks take seconds. They give you permission to compress, expand, or insert something before the session drifts too far from its shape. Observation of the table is a human skill that no plan replaces, and reading the room is, in the end, the real pacing tool.
A One-Page Planning Template
You can fit the whole process on a single page. Here is a layout that works as a starting point.
- Centre of gravity: one sentence.
- Scene list: one line each, with an intensity label (high, medium, low) and a rough duration.
- Planned release: where the main quiet beat sits.
- Peak: which scene, and roughly when.
- Joints: one compressible scene, one expandable scene, one spare release, one spare spike.
- Checkpoints: two or three times to glance at the clock.
If a one-page plan feels like too much, trim it. The point is not paperwork. The point is that a few minutes of structural thinking can head off many pacing problems, and a page is a convenient way to hold that thinking.
Common Mistakes When Planning Pacing
A few patterns recur.
Planning only the content. Detailed scenes with no thought to order, intensity, or length can produce a session with good parts and a flat whole.
Treating the plan as binding. A pacing plan is a default shape. If the table is deeply engaged in a scene you meant to be short, letting it run is often the right call, and you can compress something later.
Forgetting that players pace too. Table energy, the time of day, and the mood of the group all affect rhythm. A plan that ignores them is brittle.
Cutting release first. When time runs short, quiet scenes feel disposable. Quiet scenes can be doing a lot of structural work, so consider cutting something else first.
Over-engineering. A very elaborate pacing apparatus can become another thing to manage. Keep the tools light enough to use at the table.
How Table Preference Changes the Plan
Pacing is partly a matter of taste. Tables vary: some may enjoy a steady sequence of fights and obstacles with little downtime, while others may prefer long social scenes with the occasional burst of action. Neither is wrong.
To learn what your table prefers, you can ask directly, through a short conversation or a quick survey, or you can observe where attention rises and falls. Session zero materials from D&D Beyond (Haeck, 2024) and from Shea (2021b) discuss gathering expectations from players, and the same conversations can include pacing questions: how much downtime do people enjoy, how long are they happy to spend on a single scene, and how do they feel about slower, quieter sessions.
Example: The Lantern Road Company
The following is an illustrative scenario, not a report of a real game. It shows the planning steps applied to a single session.
Imagine a game master preparing an evening for the Lantern Road Company, four characters escorting a wagon of lamp oil along a rain-slick mountain road to a besieged border keep. Four challenges are available: a rockslide blocking the road, a negotiation with wary toll-keepers at a ruined bridge, an ambush by hired raiders in a narrow pass, and a tense arrival at the keep, where the garrison captain may or may not be trustworthy.
Step 1, centre of gravity. The game master decides the session is for the arrival at the keep, specifically the moment the players must decide whether to trust the captain.
Step 2 and 3, beats and contour. Labelled by intensity, the list reads: rockslide (medium), toll-keepers (medium), ambush (high), keep arrival (high). The contour check shows trouble: two highs at the end with a long medium stretch before them, and no low scene at all.
Step 4, durations. The rockslide is the least important scene but, being a puzzle of checks, could easily absorb half an hour. The game master sets a target of ten minutes and decides it ends as soon as the road is clear or the group chooses a detour.
Step 5, release. A quiet camp scene is added between the toll-keeper negotiation and the ambush, giving the players a chance to voice their characters' worries about the keep. It is given roughly ten minutes.
Step 6, peak. The keep arrival is placed last, with enough time reserved to let the players deliberate about the captain without rushing.
Step 7, joints. The game master marks the rockslide as compressible, the camp scene as expandable if the group is engaged, and prepares a short spare spike: a sudden crash of rocks in the dark that raises tension if the evening feels slack.
Step 8, checkpoints. The game master decides to glance at the clock after the toll-keepers and again just before the ambush.
Notice what changed and what did not. The four challenges are the same as in any version of the evening. What the planning added was an adjusted duration for the early scene, a deliberate release before the high-intensity stretch, and a few flexible joints. The result is a shape, not a script, and the game master can still adapt as the table surprises them.
A Short Checklist to Take to the Table
- Can I name this session's centre of gravity in one sentence?
- Have I labelled my scenes by intensity and looked at the contour?
- Are there flat stretches of high or low I can break up?
- Do my rough durations match what the session is actually for?
- Is there a deliberate release before the peak?
- Does the peak have room to resolve?
- Have I prepared a compressible scene, an expandable scene, a spare release, and a spare spike?
- Have I picked two or three moments to check the clock and the table?
If the answers are mostly yes, the session has a shape. If not, a few small edits can go a long way.
Tools That Can Help
Nothing about this process requires software. Index cards, a notebook, or a single sheet of paper are enough. If you prefer a digital aid, a shared document or a campaign tool can hold the one-page template. Keeping a running log of past sessions is one way to see how rhythm has played out over time.
The Dungeon Trainer is one option for groups who want to play together online and work on their craft. It offers session prep tools (Scry) and a Coach with rules practice drills. Its AI Dungeon Master is optional, and the platform also offers a human-DM mode in which you run the table yourself. It is simply one more tool, and a pencil and a page work perfectly well too.
Final Thoughts
Planning pacing is less about control than about awareness. By naming the session's purpose, labelling scenes by intensity, checking the contour, setting durations, building in release, placing the peak, and preparing flexible joints, you give the evening a shape without locking it in place.
The plan will not survive every table surprise, and it is not supposed to. Its job is to give you a default to return to and a few well-chosen tools for when the rhythm drifts. The rest is observation, and that is a skill you build one session at a time.
Sources and Further Reading
- Alexander, J. (2009, March 23). Don't Prep Plots. The Alexandrian. https://thealexandrian.net/wordpress/4147/roleplaying-games/dont-prep-plots
- Alexander, J. (2010a, May 27). Node-based scenario design, part 1: The plotted approach. The Alexandrian. https://thealexandrian.net/wordpress/7949/roleplaying-games/node-based-scenario-design-part-1-the-plotted-approach
- Alexander, J. (2013). The Art of Pacing. The Alexandrian. https://thealexandrian.net/wordpress/31509/roleplaying-games/the-art-of-pacing
- Alexander, J. (2023a, May 30). Pacing for the Beginning GM. The Alexandrian. https://thealexandrian.net/wordpress/49547/roleplaying-games/pacing-for-the-beginning-gm
- Haeck, J. (2024, March 11). How to run a Session 0 for your D&D game. D&D Beyond. Original work published January 8, 2021.
- Shea, M. E. (2018). Return of the Lazy Dungeon Master. Sly Flourish.
- Shea, M. E. (2021b, April 5). Running session zeros. Sly Flourish. https://slyflourish.com/runningsessionzeros.html
- Shea, M. E. (2022a). Improving Pacing. Sly Flourish. https://slyflourish.com/pacing.html
- The Angry GM. (2016a, March 23). Keeping pace. The Angry GM.
Play 5E at your own table
Play with friends or solo, run your own campaign, and keep the dice and character math in code. An optional AI Dungeon Master can run the game when you want one. Free to start, no card required.
Related reading
- Linear, Clustered, or Looping: Three Ways to Shape a Session's Rhythm
Three ways to lay out a session's scenes, using working labels, produce three very different rhythms. This comparison weighs linear, clustered, and looping structures and when each one tends to fit.
- The Session Pacing Toolkit: Checklists, Templates, and Table-Side Aids
A practical toolkit of pacing aids for game masters: a scene ledger, a beat map, a timing grid, and table-side prompts for keeping a session's rhythm without overthinking it.
- Designing Rhythm Into a Session: A Design Perspective on Tension, Release, and Spacing
Rhythm is a design decision, not a happy accident. This design-perspective essay looks at intensity, contrast, duration, and placement as materials a game master can shape before play begins.