Running the Iron Span: A Worked Example of Hit Points in Play
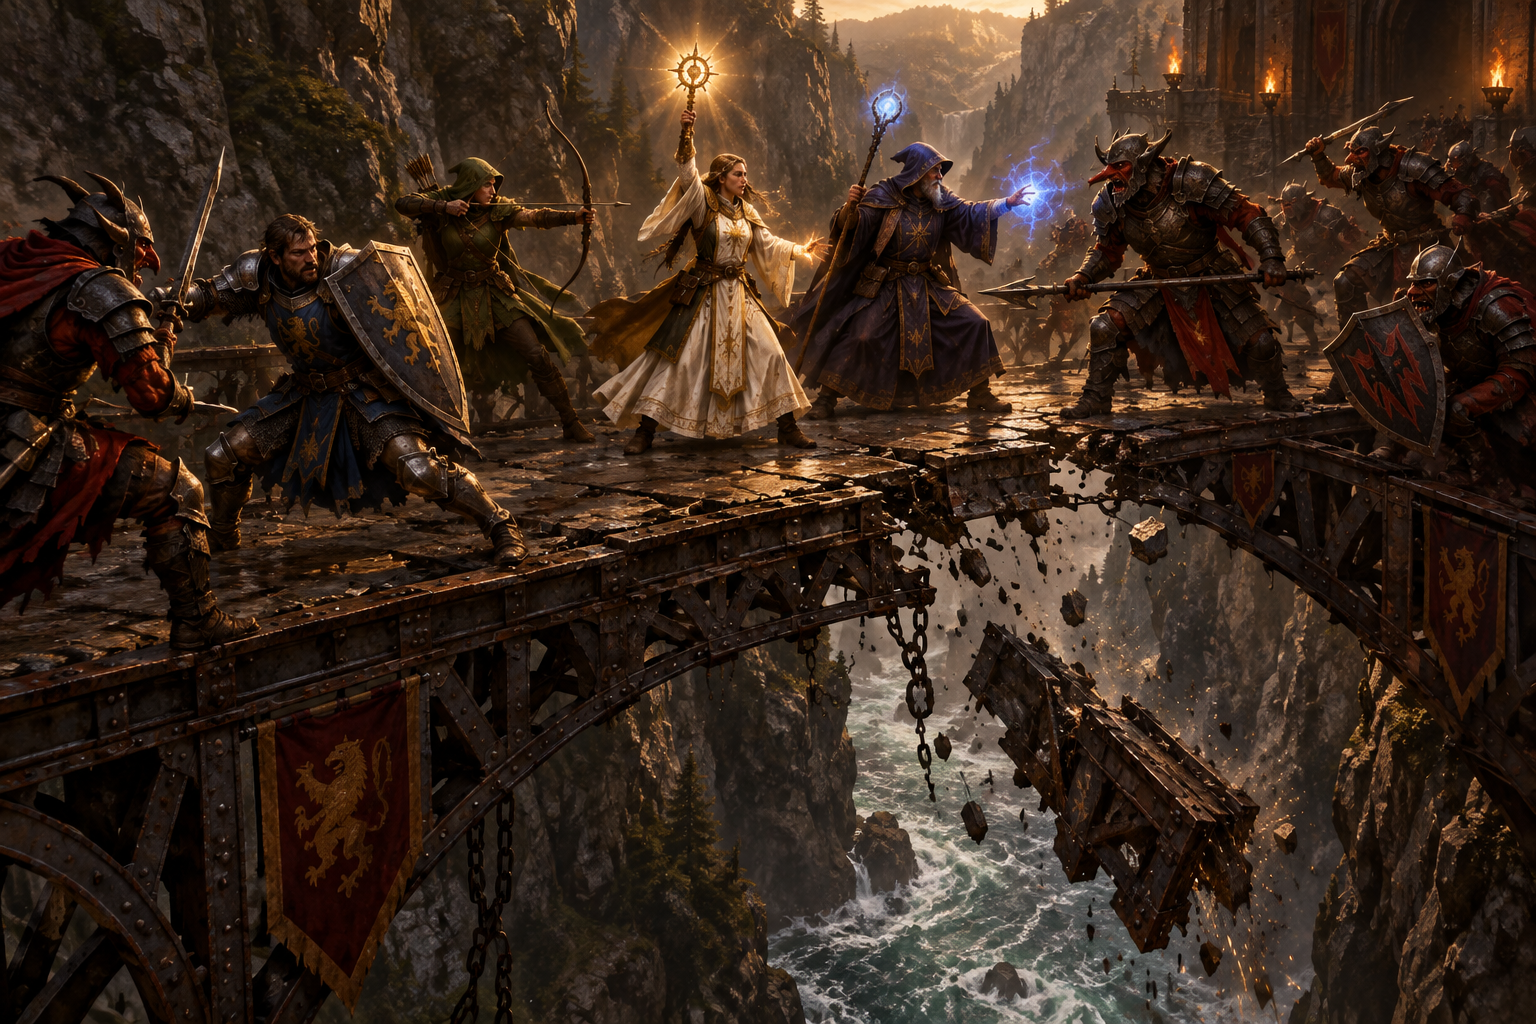
An illustrative fight on a collapsing bridge, walked through decision by decision with SRD 5.2.1 numbers, shows where hit points shape choices in play and what to watch for at your own table.
Theory explains what hit points represent. Running a fight shows how they behave once players, dice, and a Game Master's narration all act on the same number.
This article closes the week with a worked example. It follows one illustrative encounter on the Iron Span, the recurring bridge over a river chasm from the earlier articles in this series, decision by decision. The encounter, the characters, and their players' choices are invented for teaching; they are not a report of a real session. What is real is the rules text: every mechanical number below comes from the System Reference Document 5.2.1 (Wizards of the Coast, 2025), and the arithmetic is shown so you can check it.
The goal is not to predict how your players will behave. It is to show where hit points create decision points during a fight, so you know what to watch for when you run one.
The Setup: A Fight on a Failing Bridge
Four 5th-level characters are halfway across the Iron Span when six hobgoblin warriors block the far end. The bridge is already cracked from the collapse earlier in the week, and the river runs twenty feet below.
The party, with hit points calculated from the fixed values per level that the SRD gives each class:
- Fighter, Constitution +2: 44 hit points (10 + 2 at 1st level, then 6 + 2 for each of four more levels).
- Ranger, Constitution +1: 39 hit points (10 + 1, then 6 + 1 four times).
- Cleric, Constitution +1, Wisdom +3: 33 hit points (8 + 1, then 5 + 1 four times).
- Wizard, Constitution +1: 27 hit points (6 + 1, then 4 + 1 four times).
A 5th-level Cleric has four 1st-level, three 2nd-level, and two 3rd-level spell slots, and a 5th-level Fighter has three uses of Second Wind (Wizards of the Coast, 2025).
The opposition is six Hobgoblin Warriors. Each is Challenge Rating 1/2 with Armor Class 18 and 11 hit points. Its Longsword deals 12 (2d10 + 1) Slashing damage on a hit, and its Pack Tactics trait gives it Advantage on an attack roll when an ally that doesn't have the Incapacitated condition is within 5 feet of the target (Wizards of the Coast, 2025).
The Game Master adds one house rule for the bridge, which is not part of any published rules: at the top of each round, roll a d6 to pick one of six bridge sections. A section hit twice cracks, and a cracked section hit again gives way. Anyone standing on it falls twenty feet into the river. Under the SRD, that fall deals 2d6 Bludgeoning damage (1d6 for every 10 feet), and a creature falling into water can use its Reaction to make a DC 15 Strength (Athletics) or Dexterity (Acrobatics) check to take only half damage (Wizards of the Coast, 2025).
Decision Point One: The Halfway Mark
In round two, two hobgoblins flank the fighter and both hit with Advantage from Pack Tactics, for 11 and 13 damage. The fighter drops from 44 to 20 hit points, below half.
The rules attach one label to that moment and nothing else. A creature is Bloodied while it has half its hit points or fewer (Wizards of the Coast, 2025), and being Bloodied carries no penalty on its own. The fighter attacks and moves exactly as well at 20 hit points as at 44.
The player still has to choose. One option is to keep attacking. Another is to take the Dodge action, which gives attack rolls against the fighter Disadvantage, from any attacker the fighter can see, until the start of their next turn, or to spend a Bonus Action on Second Wind to regain 1d10 + 5 hit points (Wizards of the Coast, 2025).
This is the first thing to watch for at a real table. Players often react to a falling total even when the rules impose no penalty, and a defensive choice here is a reasonable response to losing more than half the fighter's hit points in a single round. Whether your players make that choice is something you learn by watching them, not something the rules decide.
The narration can support either choice. Here the Game Master says: "The first blade skids off your shield; the second drives you back a step. Your arm aches, and the next one will be harder to stop." The description signals the cost without inventing a wound the rules don't track.
Decision Point Two: Where You Stand Matters
In round three the d6 lands on the wizard's section for the second time, and it cracks. The wizard, at full hit points, is now in more danger than the fighter at 20, because one more roll on that section drops the wizard into the river.
The fall itself is survivable. At 27 hit points, the wizard would take 2d6 (an average of 7), or half that with a successful Reaction check. The larger cost is position. A wizard in the river is out of the fight, below the bridge, and separated from the cleric.
This is where an environmental hazard changes what hit points mean. A character's total measures how much damage they can absorb, but a collapse can remove a character from the fight regardless of that total. Players who notice this will start spending actions on position. The wizard moves to solid stone, even though leaving a hobgoblin's reach provokes an Opportunity Attack unless the wizard takes the Disengage action first (Wizards of the Coast, 2025).
A practical point for the Game Master: tell players which sections are cracked. The tension comes from the choice between moving and attacking. It does not come from hidden information that punishes a player for standing in the wrong place.
Decision Point Three: Healing Changes the Math
In round four a longsword hit leaves the ranger at 9 hit points. The cleric has two healing spells to choose from:
- *Healing Word* is a Bonus Action with a range of 60 feet that restores 2d4 plus the caster's spellcasting ability modifier, here 2d4 + 3, an average of 8. It leaves the cleric's Action free.
- *Cure Wounds* takes an Action and a touch and restores 2d8 + 3, an average of 12. Cast with a 2nd-level slot, it restores 4d8 + 3, an average of 21 (Wizards of the Coast, 2025).
Each of the cleric's slots can go to healing or to a spell like bless, which lets up to three creatures add 1d4 to their attack rolls and saving throws while the cleric maintains Concentration, for up to a minute (Wizards of the Coast, 2025). With a Dexterity save possible if the bridge gives way, bless is a real alternative to healing.
The cleric casts healing word and rolls an 8, bringing the ranger to 17, then uses the Action to attack.
Healing has a ceiling. Nine slots sounds like a lot, but a fight in which the hobgoblins keep landing 12-point hits can use them faster than a Game Master expects, and every slot spent healing is one not spent ending the fight. The question to watch for is whether available healing makes players more willing to stay in melee. If it does, the fight may run longer and cost more resources than it would if the party pressed to finish it.
Decision Point Four: Zero Hit Points
In round five a hobgoblin's longsword hits the ranger for 18 damage. The ranger, at 17, drops to 0 hit points. Because the 1 point of damage left over is far less than the ranger's hit point maximum of 39, the ranger falls Unconscious rather than dying outright; a character dies instantly only when the damage remaining after 0 equals or exceeds their hit point maximum (Wizards of the Coast, 2025).
The rules now change mode. At the start of each of the ranger's turns, the player rolls a Death Saving Throw: 10 or higher is a success, three successes make the ranger Stable, and three failures mean death. A roll of 1 counts as two failures, and a roll of 20 restores 1 hit point. Any damage taken at 0 hit points causes a failure, or two failures if it comes from a Critical Hit (Wizards of the Coast, 2025).
That last rule matters on this bridge. Attack rolls against an Unconscious creature have Advantage, and any hit from an attacker within 5 feet is a Critical Hit (Wizards of the Coast, 2025). One successful swing at the fallen ranger is two failed death saves.
On the cleric's turn, healing word from across the bridge restores 7 hit points. Regaining any hit points ends the Unconscious condition and resets the death save count to zero (Wizards of the Coast, 2025).
Two observations follow. First, 0 hit points is the only threshold in this fight where the rules themselves change: until then, the ranger at 9 hit points fought exactly as well as at 39. Second, a Bonus Action spell that can reach a fallen ally from 60 feet away is the party's most efficient answer to that threshold. That is a reason for the cleric to keep a slot for healing word in reserve rather than spend every slot early.
Decision Point Five: The Length of the Fight
Six hobgoblins with AC 18 and 11 hit points each can take several rounds to clear, especially if the party spends turns dodging, repositioning, and healing. Each of those turns is a reasonable choice, but each one is also a round in which the hobgoblins attack and the bridge rolls again.
This is the pacing risk the earlier decision points create together. Defensive play at the halfway mark, movement to avoid the collapse, and healing instead of damage all extend the fight, and a longer fight gives the hazard more rolls. A Game Master can keep the pressure meaningful without letting it stall:
- Give the enemies a breaking point. The stat block doesn't say when a hobgoblin flees, so that is the Game Master's call. Having the survivors withdraw once half their number has fallen keeps the scene from turning into a slog.
- Make the bridge a clock the players can see. When a section cracks, say so. Players who can count the sections left can decide how much to invest in winning the fight versus crossing the bridge.
- Offer a way out. Reaching the far end, cutting the bridge behind them, or jumping into the river on purpose are all ways to end the encounter without reducing every enemy to 0 hit points.
Narrating the Same Numbers Three Ways
The same damage can be described in ways that change how players read their own totals. Take the fighter's 24 damage in round two:
- Abstract: "Two hits. Take 24 damage." Fast, but it tells the player nothing about what the loss means in the fiction.
- Injury: "Both blades bite deep; blood runs down your arm." Vivid, but it implies wounds that a Long Rest will erase entirely, which can feel inconsistent later.
- Effort and luck: "You turn the first blade on your shield and twist away from the second, but the effort costs you. Your breathing is ragged." This fits the SRD's definition of hit points as a measure of how difficult a creature is to kill or destroy (Wizards of the Coast, 2025) and saves visible wounds for the moments close to 0.
None of these is required by the rules. The third approach keeps narration consistent with how quickly hit points return, while a table running a grim campaign may prefer the second. The narration techniques earlier in this series cover how to scale descriptions to a character's remaining hit points.
What to Watch For at Your Own Table
The Iron Span is a teaching scenario, so its choices were written to illustrate the rules rather than observed at a table. When you run your own fights, these are the questions it suggests:
- Do your players change tactics before 0 hit points? If they turn defensive at half or at a quarter, those are the thresholds your table actually uses, whatever the rules say.
- Does your narration match the recovery rules? If you describe every hit as a wound, players may find a full recovery after a Long Rest hard to square with the fiction.
- Does healing make your players bolder? If so, plan for fights that last longer and consume more of the cleric's slots.
- Do environmental hazards feel fair? Visible, predictable hazards create decisions. Hidden ones create frustration.
- What happens at 0 hit points? The shift to death saves is the one hard mechanical line in the system, and it is worth knowing how your table responds to it.
The Dungeon Trainer tracks hit points, conditions, and initiative in code, so the numbers in a fight like this stay accurate whether a human or the optional AI Dungeon Master is running it. What those numbers mean to your players is something only play can show you.
Sources and Further Reading
Wizards of the Coast. (2025). System Reference Document 5.2.1.
This work includes material from the System Reference Document 5.2.1 ("SRD 5.2.1") by Wizards of the Coast LLC, available at https://www.dndbeyond.com/srd. The SRD 5.2.1 is licensed under the Creative Commons Attribution 4.0 International License, available at https://creativecommons.org/licenses/by/4.0/legalcode.
Play 5E at your own table
Dice and character math run in code, and an optional AI Dungeon Master can run the game for you. Free to start, no card required.
Related reading
- Hit Points Across Systems: Comparing How Different RPGs Handle Damage and Survival
Hit points are not universal. Comparing how different tabletop RPG systems handle damage, survival, and attrition reveals design choices that shape play in distinct ways.
- Hit Point Reference: Essential Charts and Quick Tables for Combat
Combat moves faster when you have the right information at hand. These reference charts, condition thresholds, and quick-lookup tables help you track hit points, adjudicate damage, and narrate outcomes without breaking your table's momentum.
- Designing Hit Point Systems That Support Your Table's Fiction
Hit points work differently at every table because they serve the fiction you create together. Understanding design choices behind hit point systems helps you run them with confidence and customize them when your game needs it.